Windows Deployment Services on Windows Server 2019

BELOW WE MAY GET STEP-BY-STEP SCREENSHOTS,
Step 1 - Click on "Start" button.
Step 2 - Click on "Server Manager".
Step 3 - Click on "Add roles and features".
Step 4 - Click on "Next".
Step 5 - Keep selected "Role-based or feature-based installation" and click on "Next".
Step 6 - Select/Verify the server name and IP address, then click on "Next".
Step 7 - Locate "Active Directory Domain Services" and click the check box.
Step 8 - Click on "Add Features".
Step 9 - Locate "DHCP Server" and click the check box.
Step 10 - Click on "Add Features".
Step 11 - Locate "DNS Server" and click the check box.
Step 12 - Click on "Add Features".
Step 13 - Locate "Windows Deployment Services" and click the check box.
Step 14 - Click on "Add Features".
Step 15 - Confirm the Tick marks and click on "Next".
Step 16 - Click on "Next".
Step 17 - Click on "Next".
Step 18 - Click on "Next".
Step 19 - Click on "Next".
Step 20 - Click on "Next".
Step 21 - Click on "Next".
Step 22 - Click on the check box "Restart the destination server automatically if required".
Step 23 - Click on "Yes".
Step 24 - Click on "Install".
Step 25 - Wait for some time until installation completes.
Step 26 - Click on "Promote this server to a domain controller".
Step 27 - Click on "Add a new forest".
Step 28 - Type root domain name.
Step 29 - Click on "Next".
Step 30 - Choose appropriate "Forest and Domain functional level" from drop down menu and type "Directory Services Restore Mode (DSRM) password".
Step 31 - Click on "Next".
Step 32 - Click on "Next".
Step 33 - Verify the NetBIOS name assigned to the domain and click on "Next".
Step 34 - Click on "Next".
Step 35 - Click on "Next".
Step 36 - Click on "Install".
Step 37 - Wait for some time until installation completes and system restarts.
Step 38 - Click on "Notifications" flag icon.
Step 39 - Click on "Complete DHCP configuration".
Step 40 - Click on "Next".
Step 41 - Click on "Commit".
Step 42 - Click on "Close”.
Step 43 - Click on "Tools" button.
Step 44 - Click on "DHCP".

Step 45 - Click on "Server", e.g. wds2019.dskoli.net as shown in screenshot.

Step 46 - Click on "IPv4".
Step 47 - Click on "More Actions".
Step 48 - Click on "New Scope…".
Step 49 - Click on "Next".

Step 50 - Type a name and description for the scope.
Step 51 - Click on "Next".

Step 52 - Type the "IP Address Range" for the scope.
Step 53 - Click on "Next".

Step 54 - Type the "IP Address Range" that you want to exclude for the scope.

Step 55 - Click on "Add".
Step 56 - Click on "Next".
Step 57 - Click on "Next".
Step 58 - Click on "Next".
Step 59 - Type an "IP Address" of same server.
Step 60 - Click on "Add".
Step 61 - Click on "Next".
Step 62 - Click on "Next".
Step 63 - Click on "Next".
Step 64 - Click on "Next".
Step 65 - Click on "Finish".
Step 66 - Verify Scope has been created and Active.
Step 67 - Click on "Tools" button.
Step 68 - Click on "Windows Deployment Services".
Step 69 - Click on "Servers".
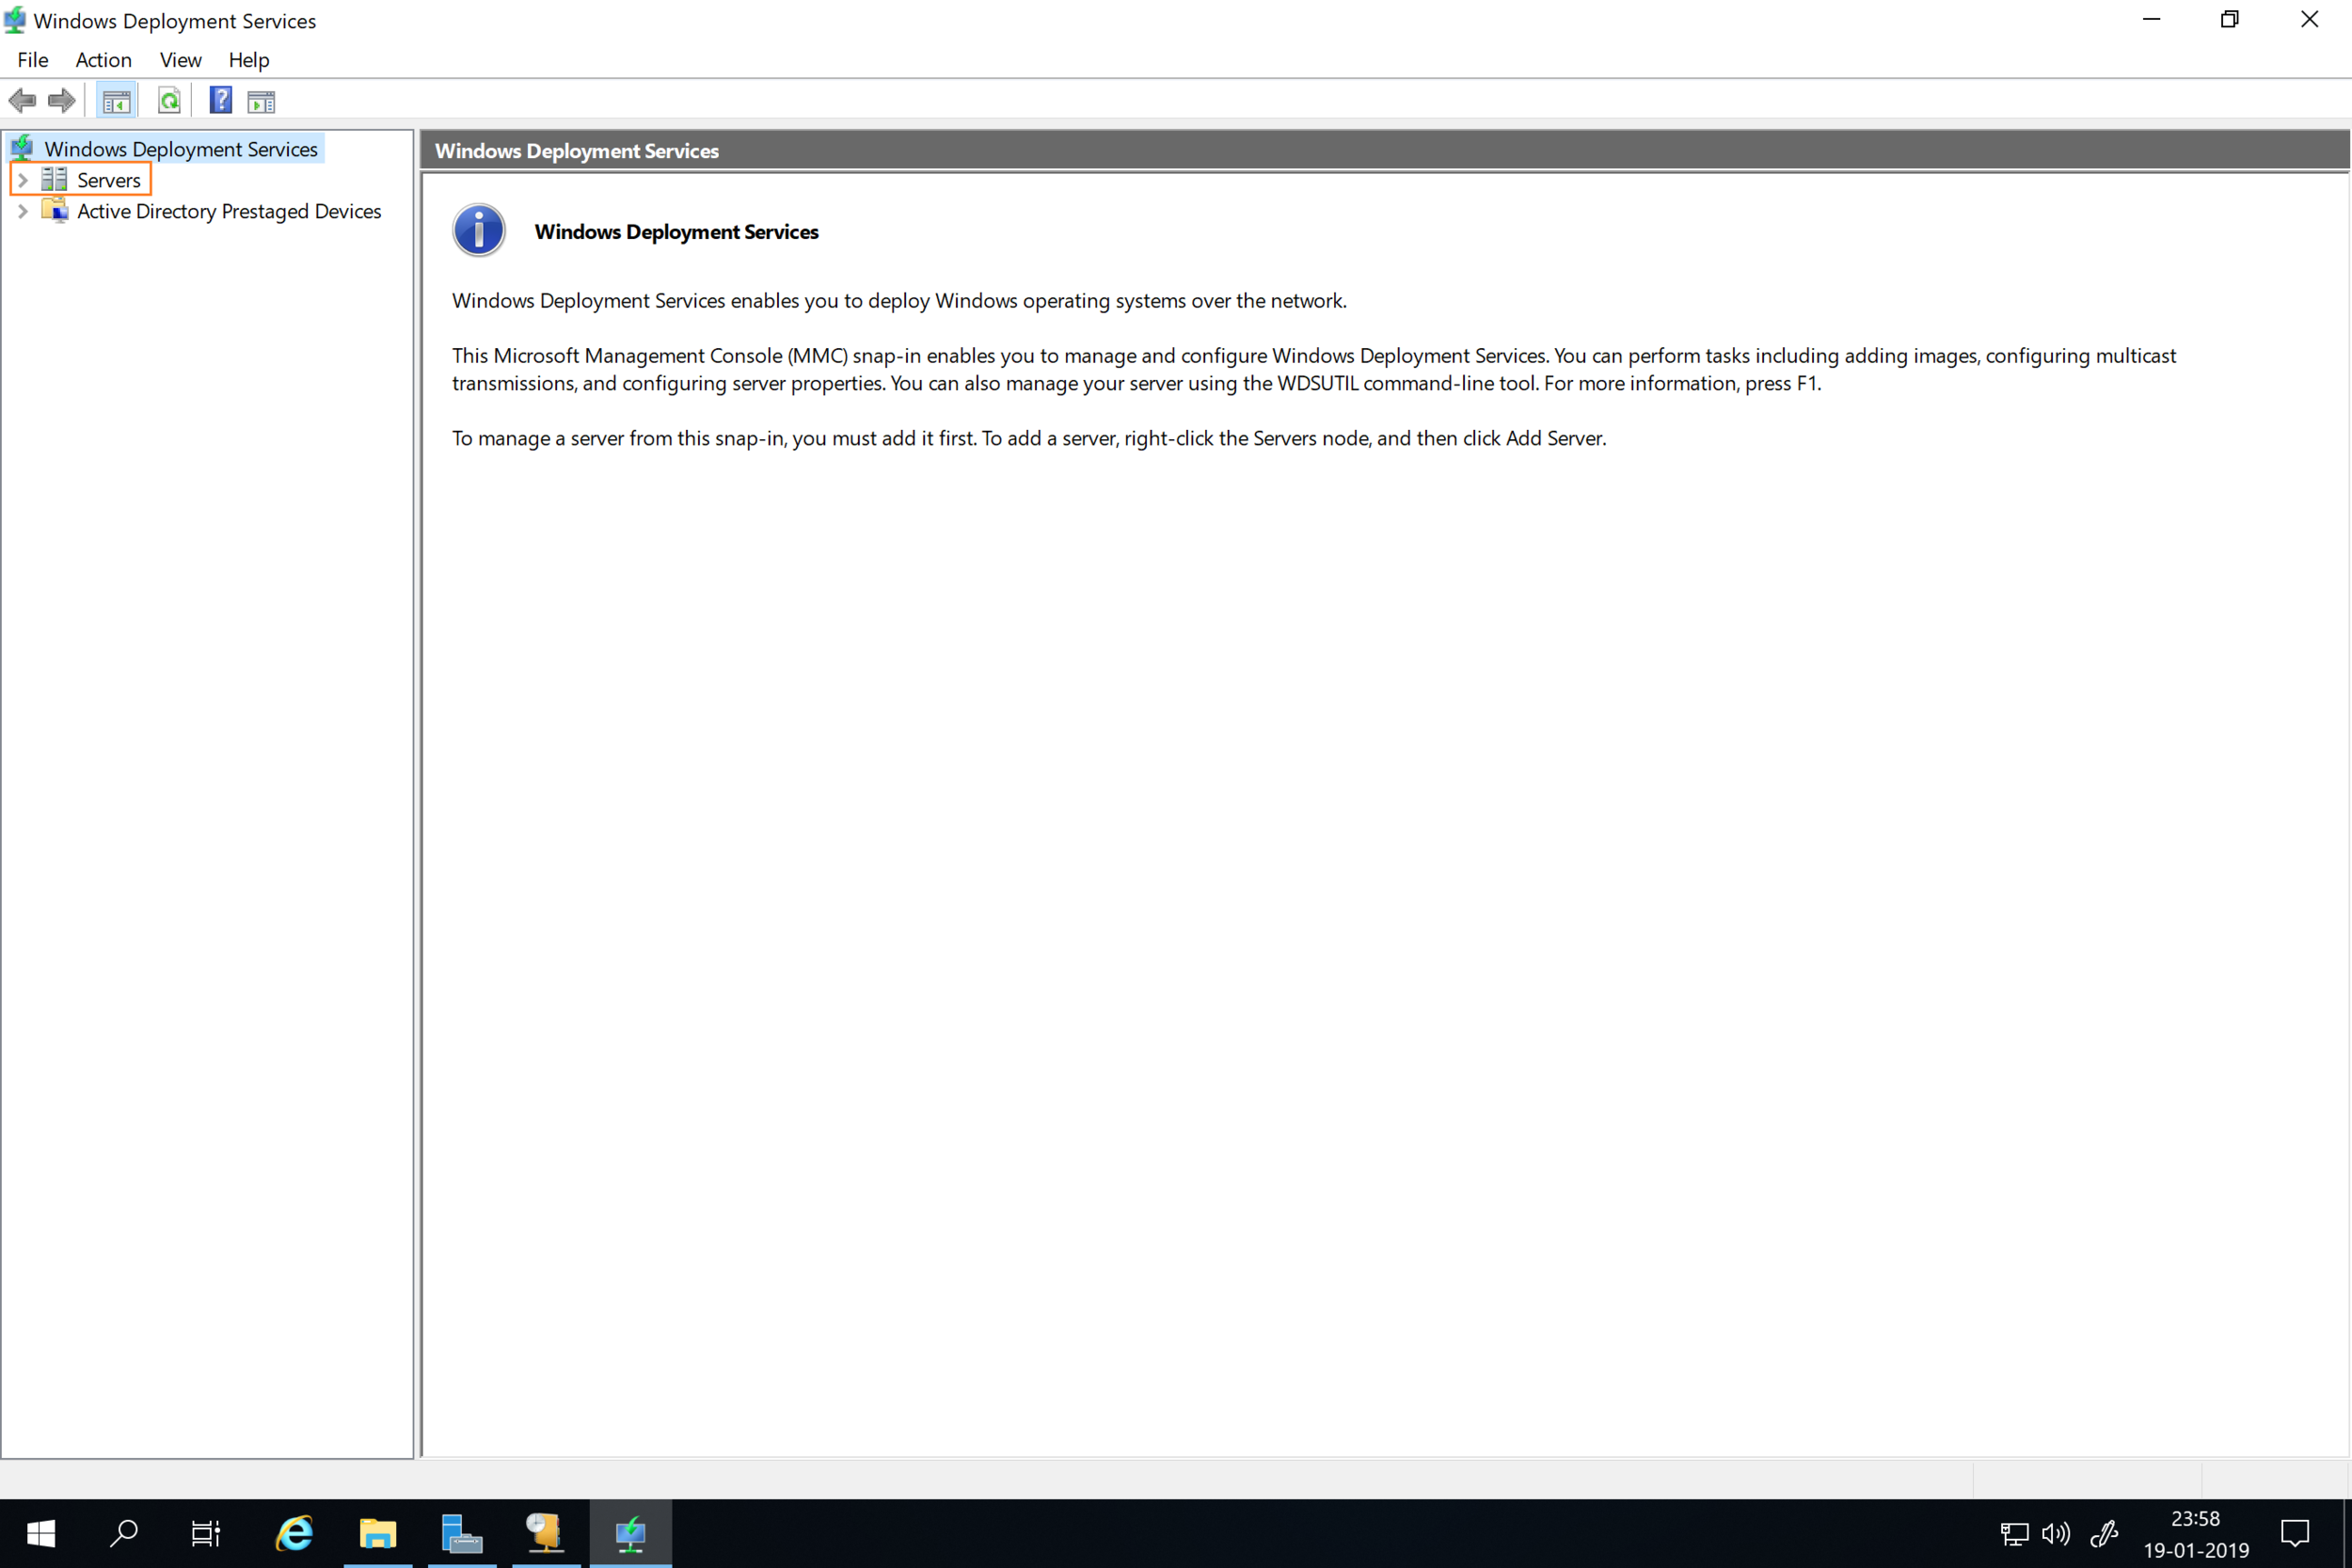
Step 70 - Select "Server", e.g. wds2019.dskoli.net as shown in screenshot.

Step 71 - Right-click on "Server", e.g. wds2019.dskoli.net as shown in screenshot.
Step 72 - Click on "Configure Server".
Step 73 - Click on "Next".
Step 74 - Click on "Next".
Step 75 - Change the path to the remote installation folder.
Step 76 - Click on "Next".
Step 77 - Click on "Next".
Step 78 - Click on "Respond to all client computers (known and unknown)".
Step 79 - Click on "Next".
Step 80 - Click on "Finish".
Step 81 - Right-Click on “Boot Images”.
Step 82 - Click on "Add Boot Image…".
Step 83 - Click on "Browse".
Step 84 - Click on Windows Image"DVD Drive" and open “sources”.
Step 85 - Double-click on "boot.wim".
Step 86 - Click on "Next".
Step 87 - Click on "Next".
Step 88 - Click on "Next".
Step 89 - Wait for some time until adding boot image completes.
Step 90 - Click on "Finish".
Step 91 - Right-Click on “Install Images”.
Step 92 - Click on "Add Install Image…".
Step 93 - Click on "Next".
Step 94 - Click on "Browse".
Step 95 - Double-click on "install.wim".
Step 96 - Click on "Next".
Step 97 - Un-check all images which are not required.
Step 98 - Make sure required one is selected and then click on "Next".
Step 99 - Click on "Next".
Step 100 - Wait for some time until adding Windows image completes.
Step 101 - Click on "Finish".
Step 102 - Right-click on "Server", e.g. wds2019.dskoli.net as shown in screenshot.
Step 103 - Scroll to “All Tasks” and click on "Start".
Step 104 - Wait for some time until services starting.
Step 105 - Click on "OK".
Step 106 - Verify the green icon on "Server", e.g. wds2019.dskoli.net as shown in screenshot.
Client Side
Make Client machine boot from network or create virtual machine with an option “Install an operating system from a network-based installation server“.
Step 107 - Click on "Start".
Step 108 - Wait for some time until Virtual Machine “Start PXE over IPv4”.
Step 109 - Verify the details and press “Enter" for network boot service.
Step 110 - Wait for some time until “Loading files…”.
Step 111 - Click on "Next".
Step 112 - Enter administrator user name in the format “domain\user or user@domain.com”.
Step 113 - Click on "Ok".
Step 114 - Select required Operating system and Click on "Next".
Step 115 - Click on "Drive options (advanced)".
Step 116 - Click on "New".
Step 117 - Click on "Apply".
Step 118 - Click on "OK".
Step 119 - Click on "Next".
Step 120 - Wait for some time until server initiates session.
Step 121 - Windows Installation will start.
“Thank You for being with me.”